| Ink
Use pigment or crafters ink. I prefer the
Colorbox Petal Points for 2 reasons; you get 8 colors for one price and
they have a rounded butt on each pad which doesn’t leave hard lines in
your patterns.
Paper
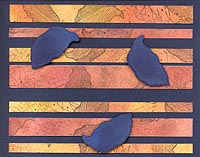
Matte paper is used, either color or white.
Technique
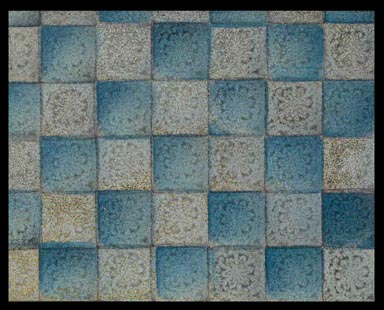
Using the butt of the pad, blend colors.
The object is to get very smooth transitions from one color to the next.
If you can see lines or abrupt changes in color, blend more. Do not push
down on the pad or you will get dark blotches of color. All motion should
be away from you. If you hit the paper traveling backwards and then move
forward you will have a dark line.
On the other hand, you may want to play
with the patterns and forms that can be achieved by purposely using the
edge or butt of the pad on the paper. Just be gentle on the pad.
The pads were not designed for this use so they come loose and tear if
abused.
The Stylus
There are 2 different types of foam on the
stylus’. One is white foam. This is
for doing the basic direct to paper technique (although you can just use
the Petal Point Pads themselves as directed above). It can also be used to
apply color in patterns on your cardstock.
The other type of stylus is gray
foam. This one is for molding and stamping.
Both types of tips come in a variety of
shapes. You can buy them in packs of 3 or 4 or in combination packs with
several tips and a handle. They also come in larger kits that include
refill bottles or ink pads. The handles can also be purchased in packages
of 3.
The handle is fragile. It is best to hold
it close to the bottom when stamping so as not to put too much pressure on
it.
Success
You can start with white or color matte
cardstock that has either been colored with the direct to paper technique
or not. The stylus tool is very flexible.
If you do start with a piece of cardstock
that you’ve done direct to paper on, the blend that you start with will
determine a large part of your success with the final technique. Practice
these blends and this will be a technique you turn to again and again.
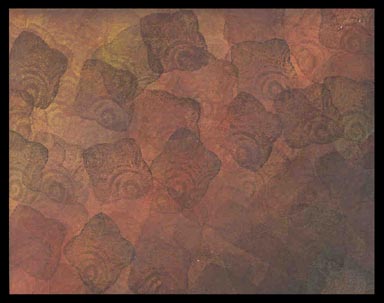
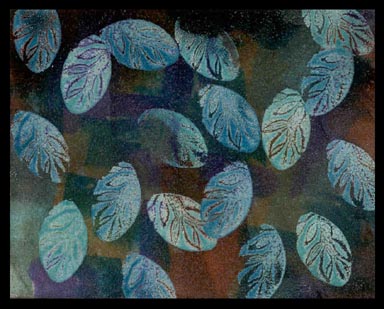
Mold the stylus tip by holding it under a
75 watt household light bulb for approximately 10-20 seconds. It is
important not to use halogen light bulbs or a heat gun. This will destroy
your tips. While it is still hot, gently press it down onto the rubber
side of an un-inked stamp. It is now ready to use as you would any
other stamp. When you no longer want the design simply hold it under the
light bulb again and it will flatten back out. The tips are easily cleaned
with water.
If you are going to use the same tip for
more than one color, work from lightest color to darkest so that you don’t
pollute your lighter ink pads with darker colors.
When the design is how you want it, you can
either leave it as is, layer it onto a complementary color of cardstock
and/or emboss the whole thing with clear embossing powder for a glazed
look.
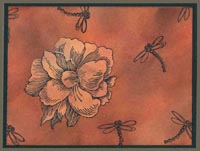
To further enhance the piece you can rub a
black (or other color) pigment ink pad over the whole thing. Wipe the
excess off the previously embossed areas and then emboss it again. This
gives it an “antiqued” look. |